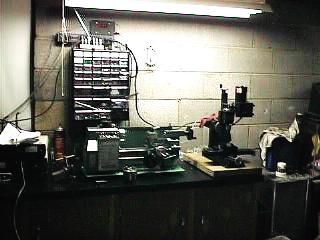
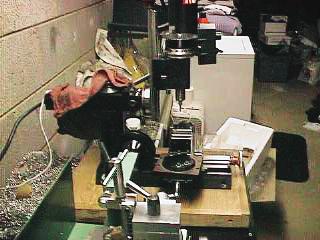
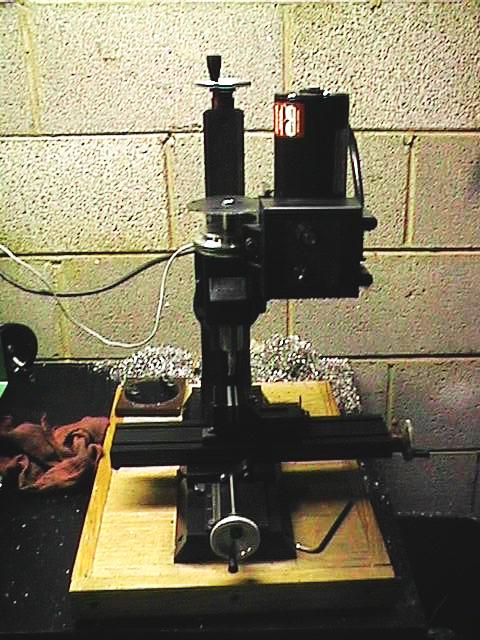
 This is my SMALL machine shop. There is a 12 in. Bandsaw out of the picture to the Left, and a 8 in. Bench Drill press behind your point of view. |
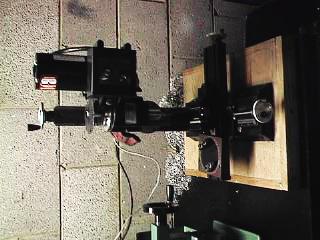
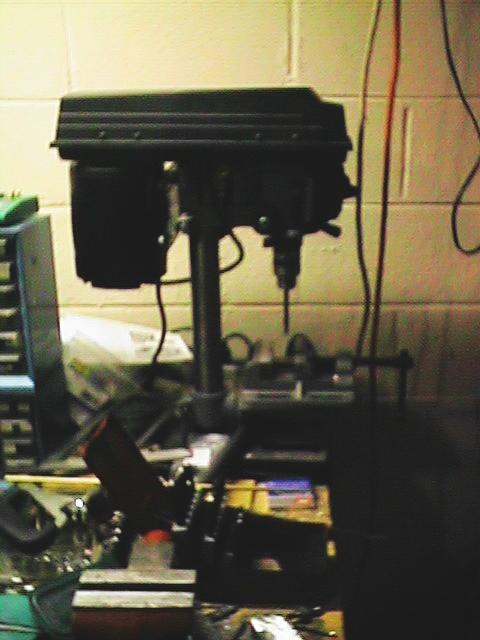
 Another View showing Sherline Model 2000 Vertical Mill |
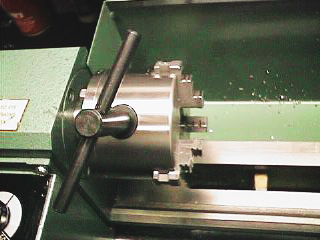
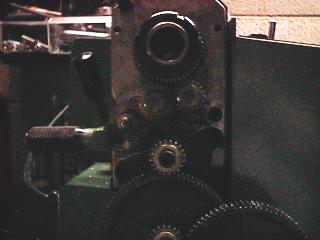
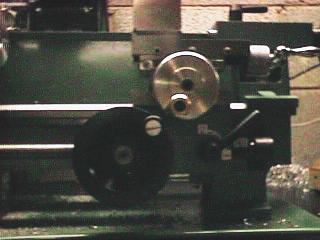
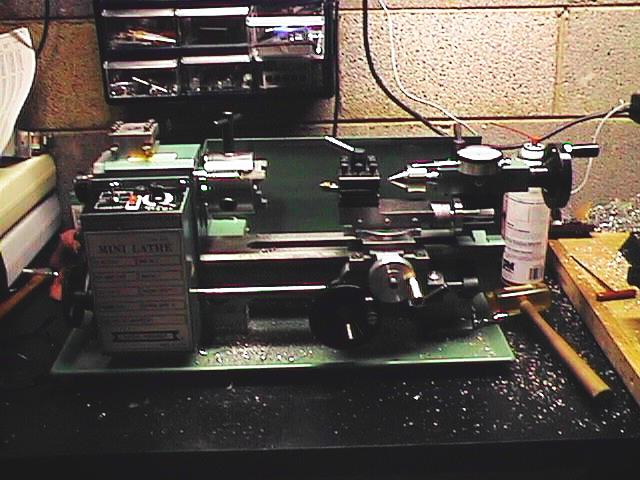
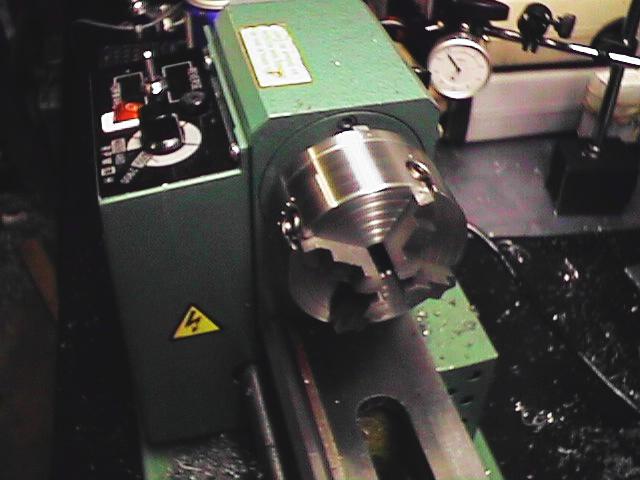
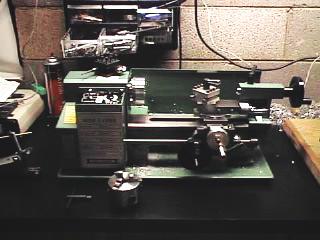 Front of the 7x10. |
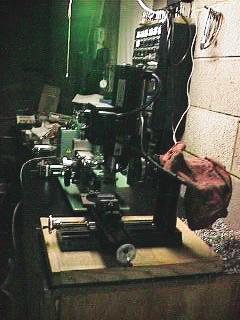
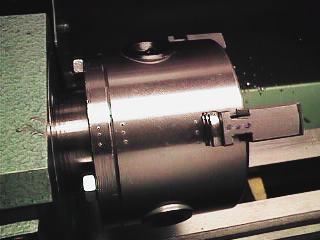
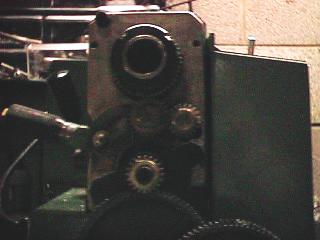
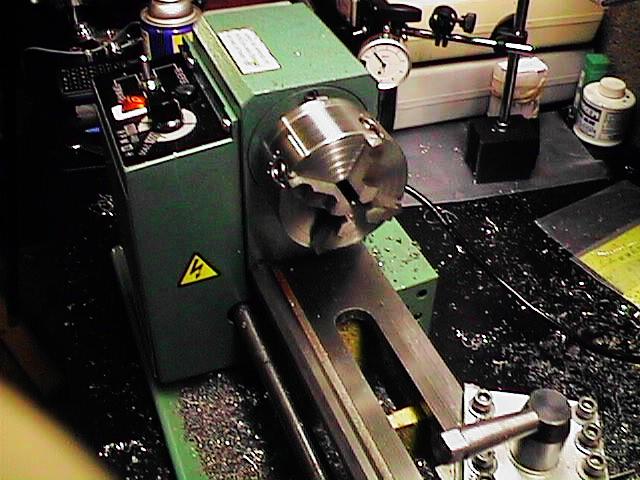
 Left Side of the 7x10 |
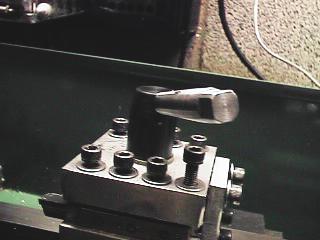
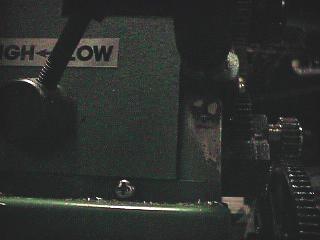
 Rear Controls. Hi-Lo speed & Carriage Left, Neutral, Right. |
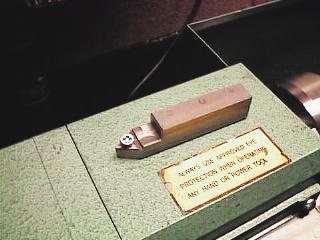
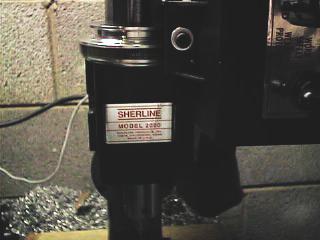
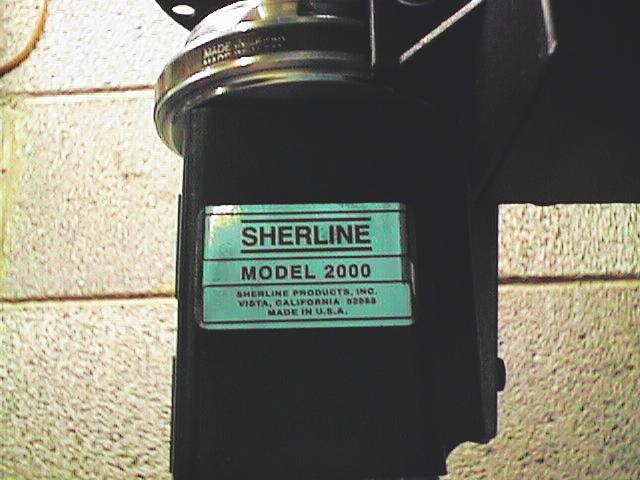
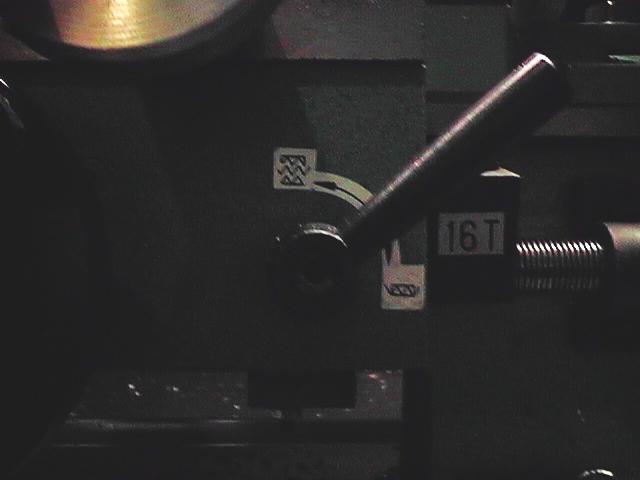
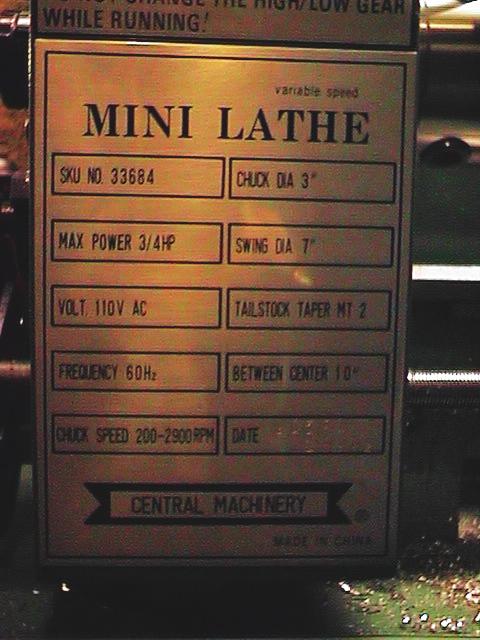 Main Label w/ specifications. |
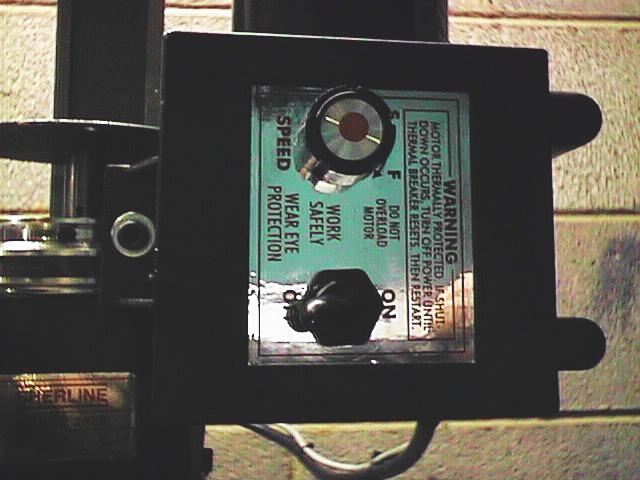
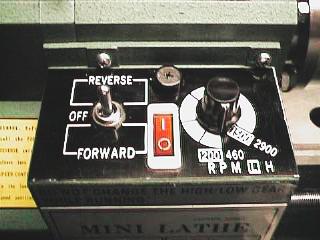 Power & Speed Controls |
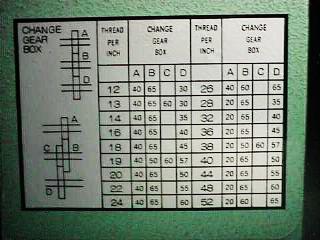 Thread Chart on Left Side gear cover. |
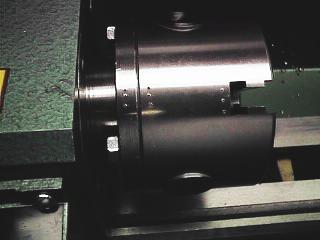
 3 Jaw Chuck & key |
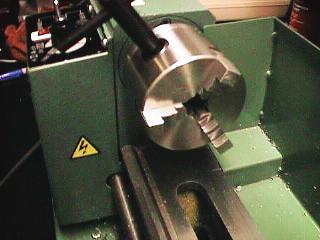
 3 Jaw Chuck showing OUTSIDE Jaws in place. |
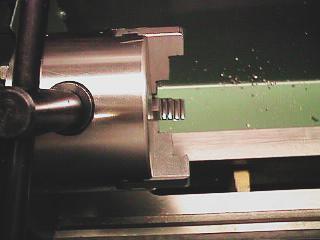
 3 Jaw Chuck showing INSIDE Jaws in place. |
 3 Jaw chuck. I marked the chuck & jaws so that I wouldn't accidently put a jaw on out of order. |
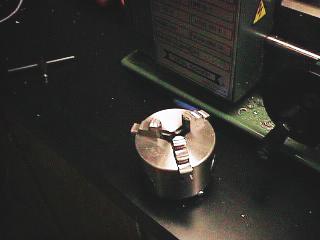 3 Jaw Chuck Top View. |
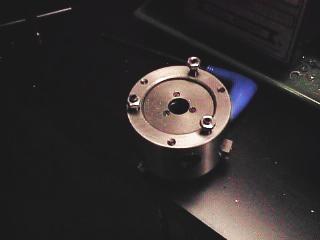 3 Jaw Chuck Bottom View. |
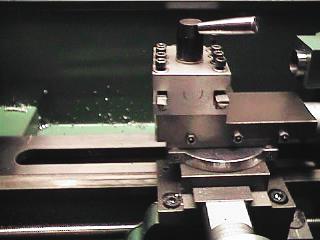
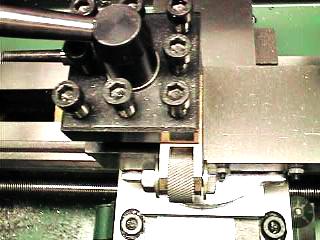
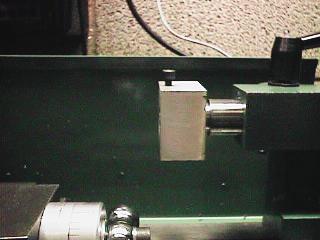
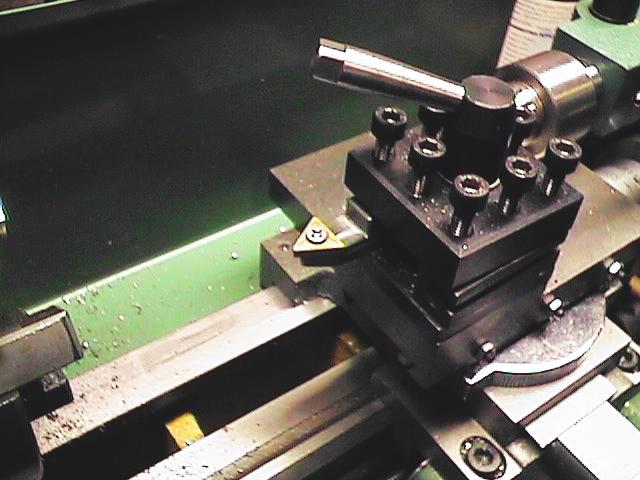
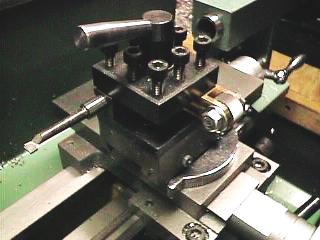 4 Way Toolpost with Boring Bar & Bump Knurler mounted. |
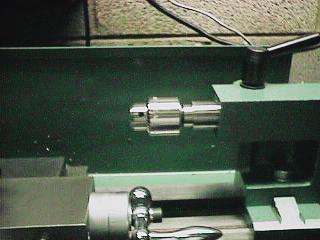
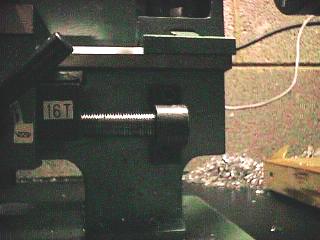
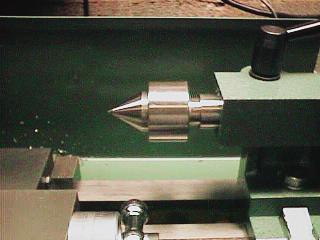 Live Center mounted in Tailstock. |
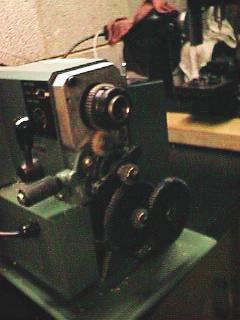 Change Gears on Left side of lathe. |
 L-N-R Lever Down. |
 L-N-R Lever in Neutral ( lead screw motionless ). |
 L-N-R Lever up. |
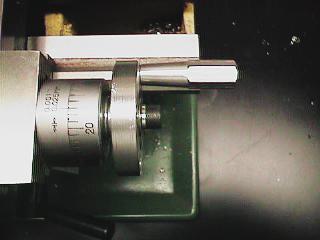
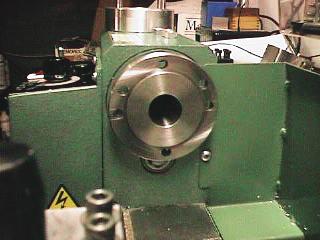 Spindle with 6 holes! MT#3 Taper too. |
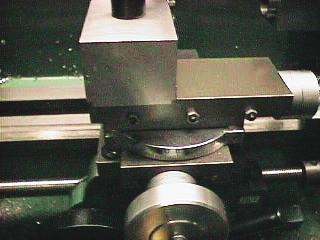 Compound Slide. |
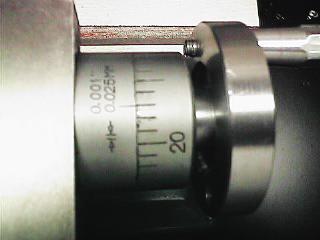 View of Compound graduations. |
| Changes, Fixes & Additions. |
||
 One of the first changes I made was to make a handwheel like the carriage had. I find the ball & grip clumsy. My first attempt. I changed the type of knob connection, hence the UGLY hole in the wheel. Threading the 10-32 screw into the wheel worked better than the nut & bolt method. I have since gone back to the original handle from the cross slide on the comnpound. This handle is a little longer & was more comfortable for me. |
 This is the handwheel mounted on the compound. I'm not happy with the aluminum hex stock I used. I'll probably make a new one from brass like the one I made for the Cross slide. |
 The handwheel I made for the cross slide. I originally made one 3" in dia. but the carriage handwheel got in the way if the handles were close. I kept rapping my knuckles, so I reduced it to 2.250" and it works great. |
 Another view of the Cross slide handwheel. |
 I also made a combination 1/4" & 5/16" toolpost. |
 Another view of my combination toolpost showing mount for cutoff blade. Note modification to handle. This allows me to tighten handle which kept loosening. |
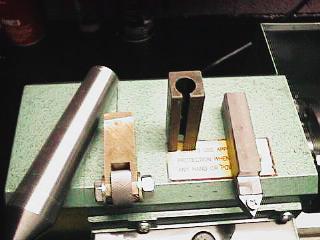 Assorted tools I have made. From Left to Right: Dead Center MT#3, a Bump Knurler PROTOTYPE, a Boring Bar Holder for the 4-way, Indexable Carbide bit holder. |
 Another view of PROTOTYPE Bump Knurler mounted on the 4 way toolpost. ( Top ) |
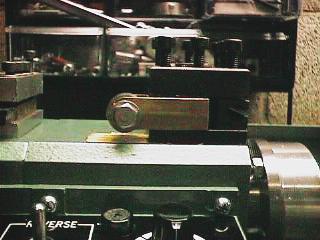 Side viev of PROTOTYPE Bump Knurler mounted on 4-way toolpost. Next one will be 3" long. |
 Right View of Toolpost mounted Clamp type Knurler. Design based on http://easyweb.easynet.co.uk/~chrish. |
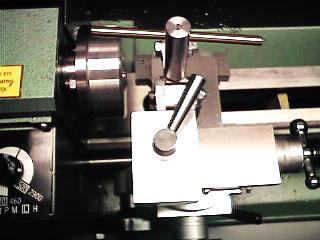 Top view of Clamp Knurler |
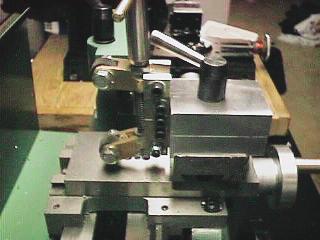 Left View of Clamp Knurler. Scribed line is lathe centerline. |
 Round Style Die Holder for external threading. |
 Front View of Die Holder |
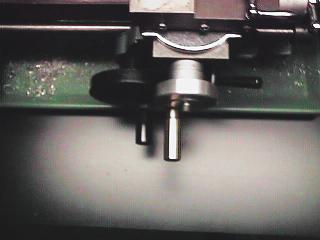
 A must for drilling. 1/4" Jacobs chuck 3/8-24 thread mounted on a MT#2 shank. |
 Indexable Carbide Insert Holder for 4 Way toolpost. ( Side ) |
 Top View of Insert Holder |
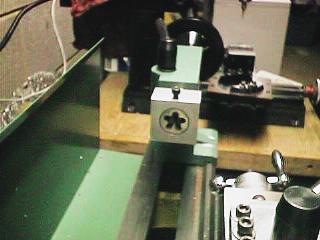
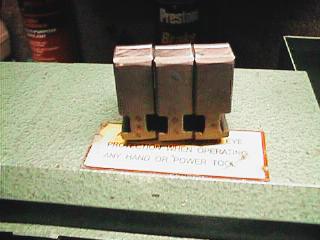
 3 Jaw chuck prick punched to mark Jaw locations. |
 INSIDE & OUTSIDE Jaws marked. |
 I noticed slop, side-to-side on the leadscrew so I loosened the leadscrew pillow block & pressed it to the left while tightening. No more slop. |
 The most disturbing error I found was the Neutral position on the L-N-R Lever was too high causing the gears to grind. I filled in the detent ( Which was prick punched at the factory ) with JB Weld and slid the lever untill the gears stopped grinding, then lightly struck the handle with an 8oz. ball peen to mark the location. Then re-punched the hole location. If I owned a welder, I would have filled the hole that way. |
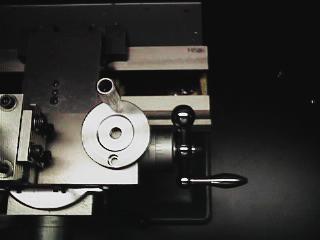
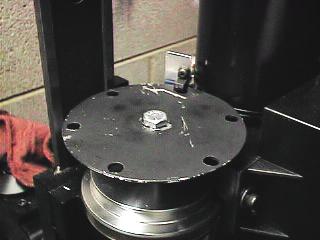
 Test fitting my faceplate. The slots are only a couple thous to mark location. Design based on one seen ( Jose's ) at Nick Carter's Taig page. |
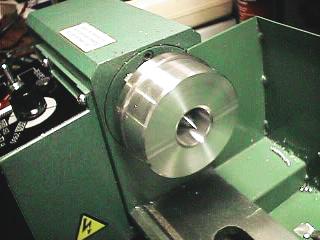 It Fits! Well almost. My spindle has a hole that is 10 thou off center. I thought I was off but after measuring I found one spindle hole was just a hair farther out than the other five. Ahh well. |
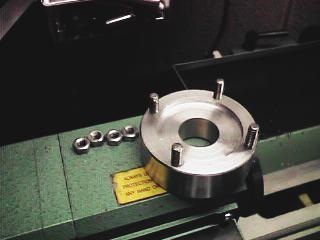 Bottom of the faceplate, with recess bored out, and 4 1/4"-20 studs inserted. |
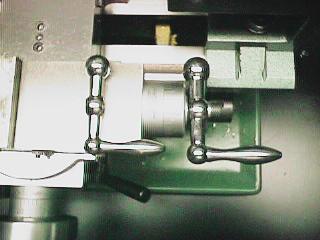 Placed Cross Slide Hand Crank on Compound. This gives a little more leverage when compound is almost all the way in. My Compound leadscrew is eccentric near the handle causing alot of friction at that end of travel. Haven't figured out what to do yet. Maybe order another. |
 Carbide Insert Holder with 3/8" I.C. Insert mounted. This works REALLY well with steel. |
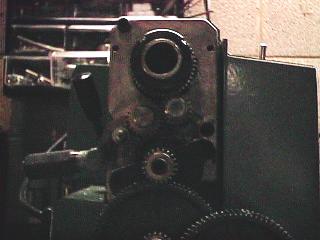
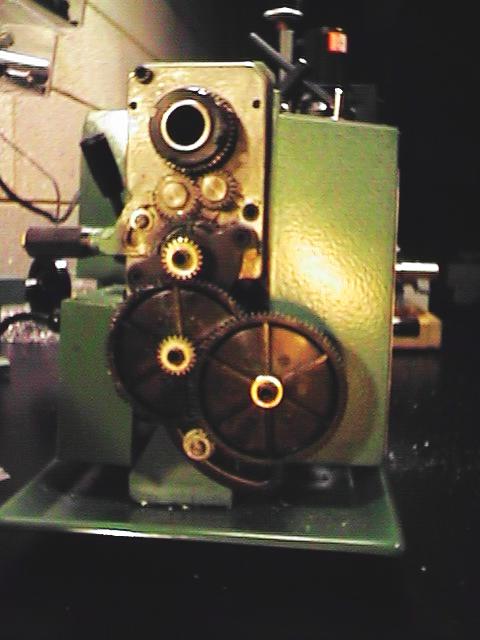 Better view of Threading Change Gears & L-N-R Lever. |
 OOOPS must rotate this picture. |
 Head & power/speed controller |
 Encoder wheel and sensor for Tachometer. |
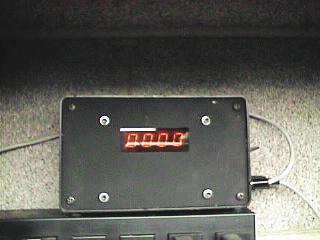 Home Built Tachometer accurate to 10 RPM. Am Building an adapter so it can be used on the 7x10 as well. |
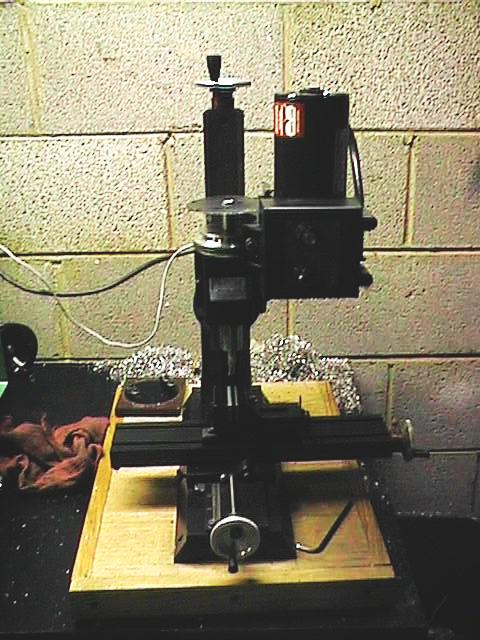 Front View of Sherline 2000 |
 Spindle Head of Sherline |
 Close up of Sherline 2000 Power & Speed Controller Box. CCW for SLOW, CW for FAST. |
 Sherline Mill. Note Rotary Vice Table (RED) next to Vise. |
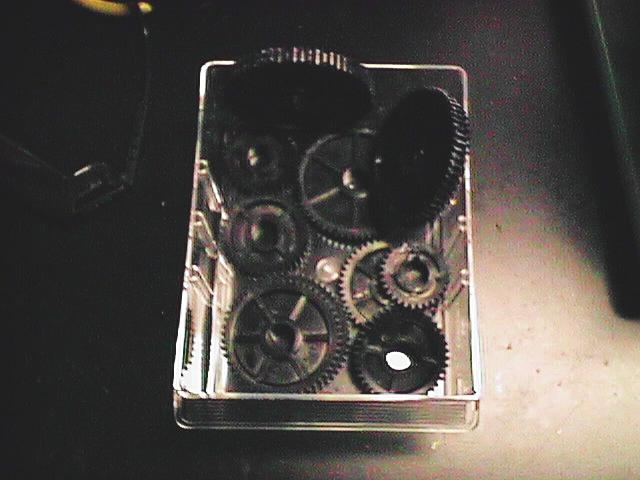 Drawer of spare Change Gears for Threading on the HF 7x10. |
 7x10 with dial indicator mounted ala Varmint Al. |
 Carbide insert holder with insert mounted. |
 The 7x10 half nut engagement lever ( Disengaged ) |
 My 8 inch Delta drill press ( B-Day Present ) |
 Sherline Model 2000 |
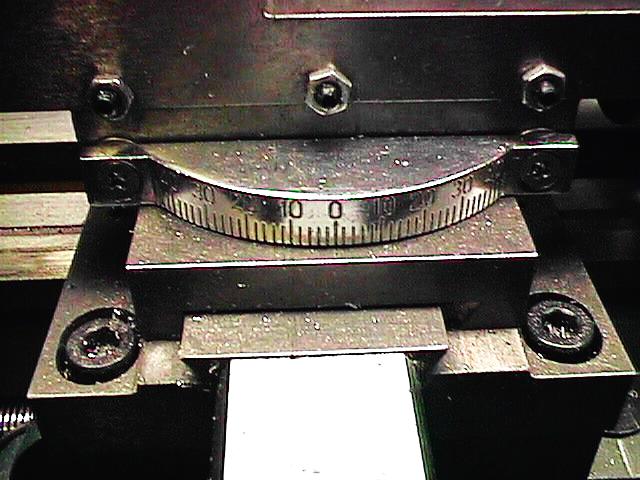 Compound protractor marked off with one tick every 2 degrees. |
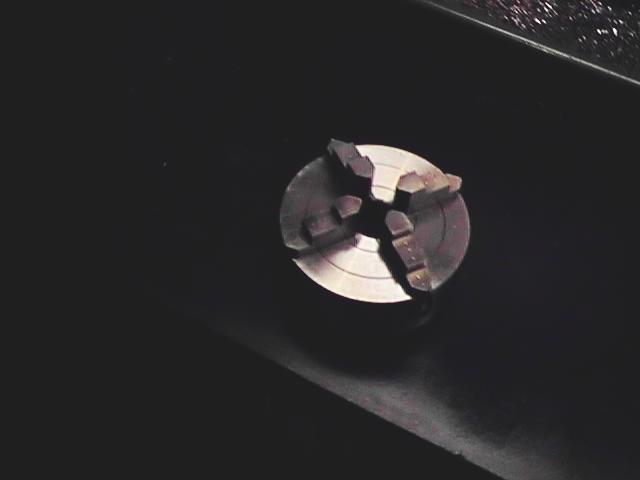 My new Taig model # 1030 4 jaw chuck. |
 Top view of Taig 4 jaw chuck. |
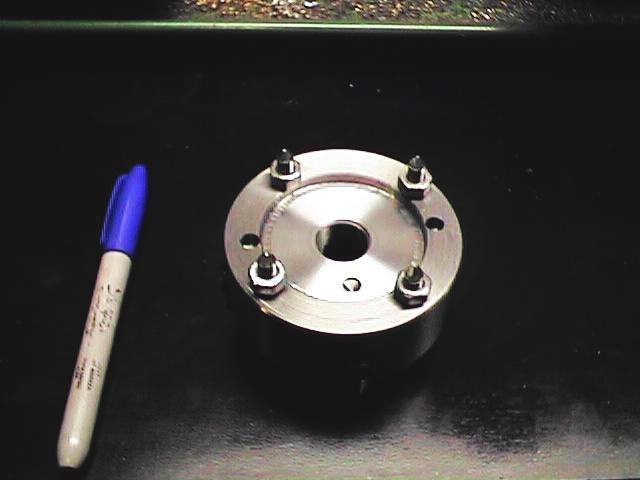 Bottom view of Taig 4 jaw. 4 mounting holes allready drilles & tapped for 1/4-20. Note the studs are ground to a point. This makes it easier to slip onto the spindle. |
 Side view of Taig 4 jaw chuck. Adjustment is made with a allen key. |
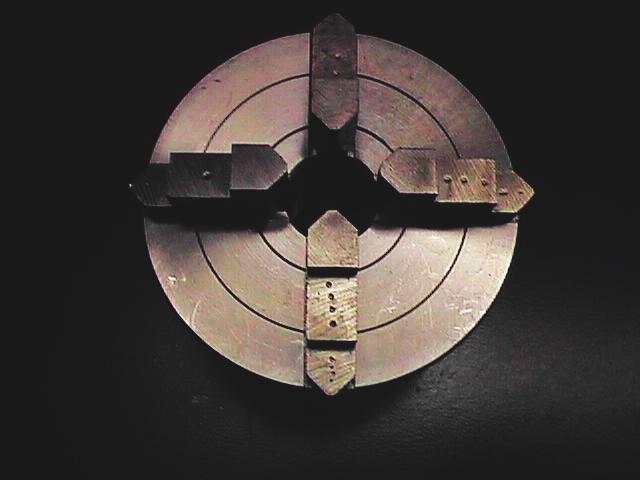 View of Taig 4 jaw showning the jaws marked off for position. Yes I know, since each is individually adjustable there shouldn't be a problem right? Call me ANAL. |
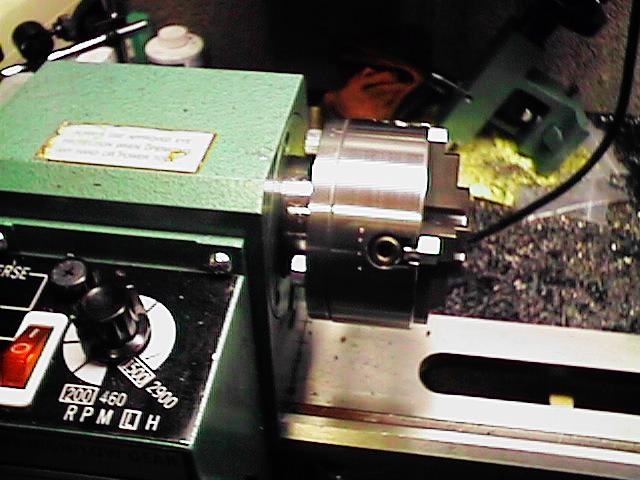 Taig 4 jaw mounted on spindle, ready to be indicated in. |
 Taig 4 jaw mounted ( Front View ). Those with sharp eyes will notice I have tirned down the face and re-grooved the face with concentric rings at .250 inch apart. |
 Taig 4 jaw. Looks like it belongs there. |
 Close up view of re-grooved face. I find this makes centering much easier by eye. |
 Anal Ty marked the chuck for each jaw, just in case the jaws weren't exactly the same. |
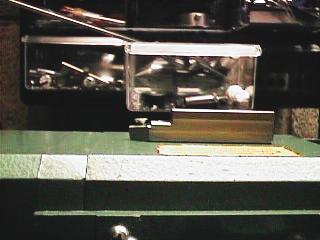
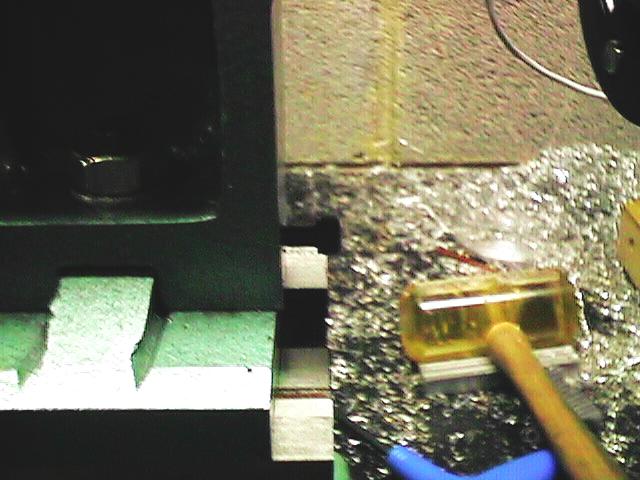 M6x25mm slotted screw replaced with M6x30mm CHS. Remind me to clean up the bench! Whew, what a mess!! |
|
All above images Copyright (c)1999
You are Visitor number
Ty Hoeffer
since 06/10/1999

GO BACK
 |
 |
For more information email me at: pth3k@virginia.edu